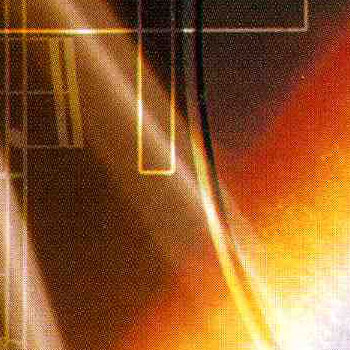

Images in print media represent a series of overlapping dots that should create an illusion of more colors. When you scan such a photo you can usually discover a moire pattern. A moire pattern results from incorrect screen angles of overprinting halftones.
You can try to avoid moire at the scanning stage. Sometimes a well-chosen scan angle can produce a remarkable effect. However, if you deal with a scanned image you have only one method of the moire suppression at your disposal - apply image processing techniques.
 |
 |
| Original Image | Result |
On the photo below you can see a scan of a music CD cover. Moire is visible.

Open this fragment of the scanned cover in AKVIS Noise Buster with the ![]() button.
button.
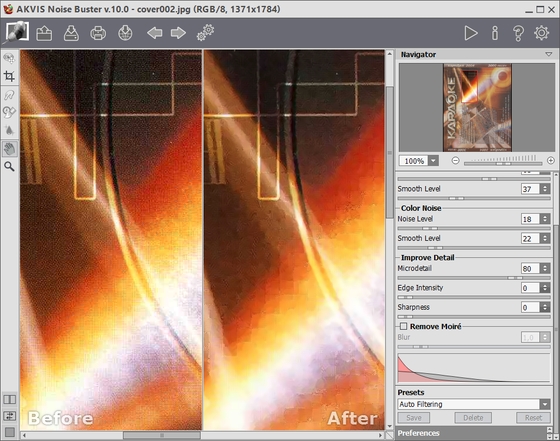
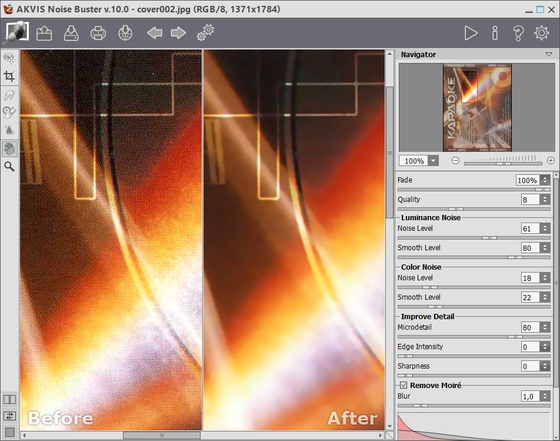
Noise Buster will process the image using the Automatic Filtering preset from the list of presets. The program will analyse the noise on the whole image, create histograms for the noise, and offer settings for the parameters Noise Level and Smooth Level for every noise type.

In this case, when the noise is not regularly spread over the surface but represents visible squares, it's better to increase the value of the parameter Smooth Level (luminance noise).

If the result in the preview area is good, press the ![]() button to apply the filtering to the whole image. Then save the image by pressing the
button to apply the filtering to the whole image. Then save the image by pressing the ![]() button.
button.
