- If you work with the standalone edition:
The dialog box Select File to Open appears if you double-click on the empty workspace of the program or if you click on the button ![]() on the Control Panel. You can also drag the required image into the workspace of the program.
on the Control Panel. You can also drag the required image into the workspace of the program.
The Standalone edition of AKVIS Sketch supports RAW, JPEG, PNG, BMP, and TIFF file formats.
- If you work with the plugin:
Open an image in your photo editor by calling the command File -> Open or using the key combination Ctrl+O on Windows or ⌘+O on Mac.
Call the AKVIS Sketch plugin select the menu item:
In AliveColors: Effects -> AKVIS -> Sketch;
in Adobe Photoshop: Filter -> AKVIS -> Sketch;
in Corel Paint Shop Pro: Effects -> Plugins -> AKVIS -> Sketch;
in Corel Photo-Paint: Effects -> AKVIS -> Sketch.
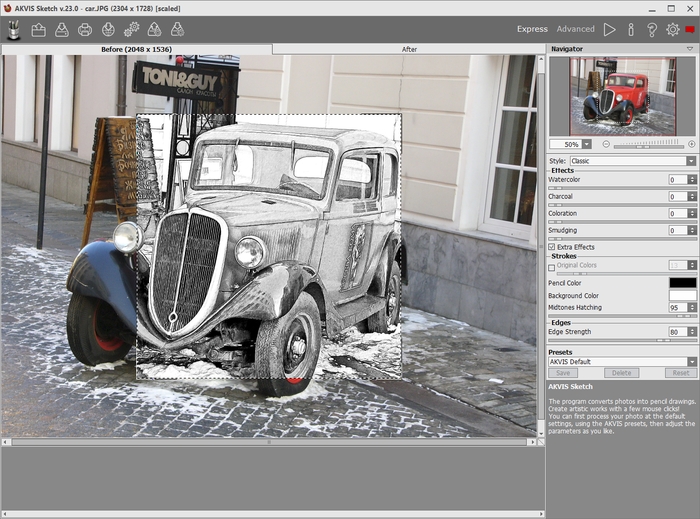
AKVIS Sketch Workspace, Express Mode
Experienced users who are familiar with the capabilities of AKVIS Sketch can switch to Advanced mode. Switch to this mode by clicking the Advanced button: the interface's appearance will change, granting access to the full functionality of the program.
Note: All parameters work in Express mode as well; some are hidden and the program uses values of a chosen preset.
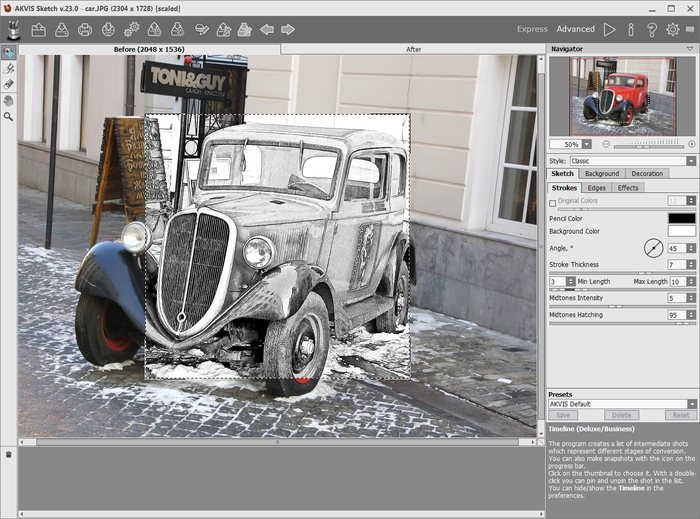
AKVIS Sketch Workspace, Advanced Mode
Once the program is open, part of the image will be automatically converted to a pencil drawing. The result will be shown in the quick preview area in the Before tab.

Quick Preview
To convert the whole image, click on ![]() or on the After tab. After processing it is possible to switch between tabs by pressing the left mouse button on any point of the image.
or on the After tab. After processing it is possible to switch between tabs by pressing the left mouse button on any point of the image.
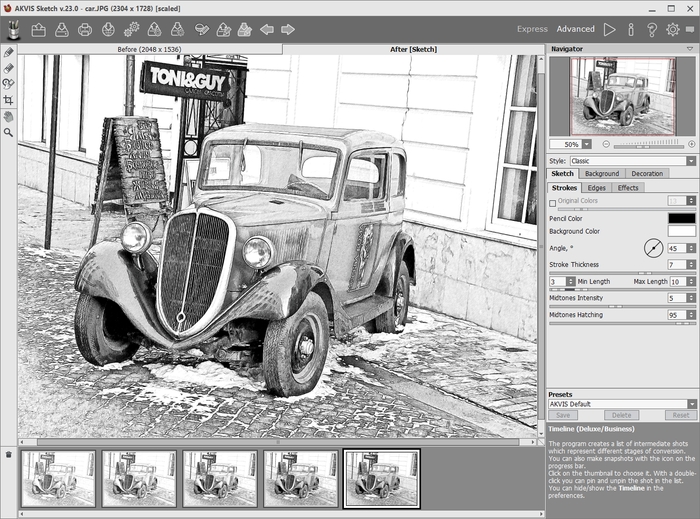
Default Settings
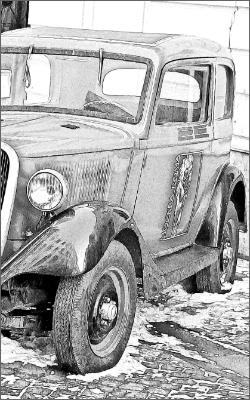
- The Classic style lets you create color and B&W drawings with well-defined contour lines. A characteristic feature of this style is its accuracy: the image looks as if it was primarily created by contour lines with the addition of hatching. Though this mode is versatile and good for many purposes, it is the most suitable for technical illustration, architectural images, and other pictures where you would like to attain good detail.
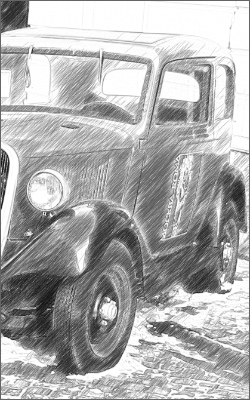
- The Artistic style is designed to create expressive drawings that look like the handmade work of a real artist. In this style, it is easy to create both a quick sketch and a carefully drawn and shaded pencil drawing. The main advantage of this style is the ability to play with hatching and to vary the number of shadings and shadows to get natural tonal transitions.
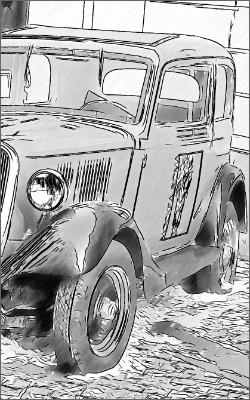
- The Maestro style (available only for the Deluxe/Business licenses) is intended to solve artistic tasks. It creates vivid and expressive works of art with masterly hatching, clear and natural contours, and without excessive detail, less photographic and more like drawings. This style harmoniously combines exquisite technique and artistry.
Note: You can observe the processing in real-time. It's possible to stop photo-to-sketch rendering and save the semi-processed drawing as a result. To interrupt the process, use the Stop button right to the progress bar.
Note: This feature is only available for the Home Deluxe and Business licenses.
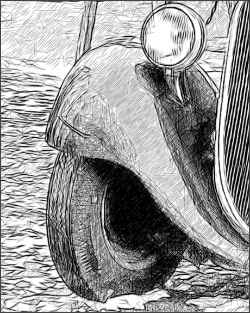
Automatic Strokes
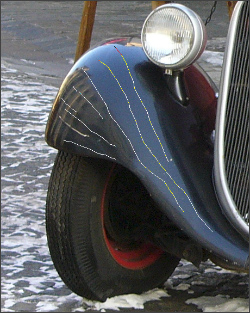
Guiding Lines
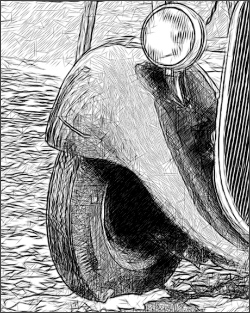
Reoriented Strokes
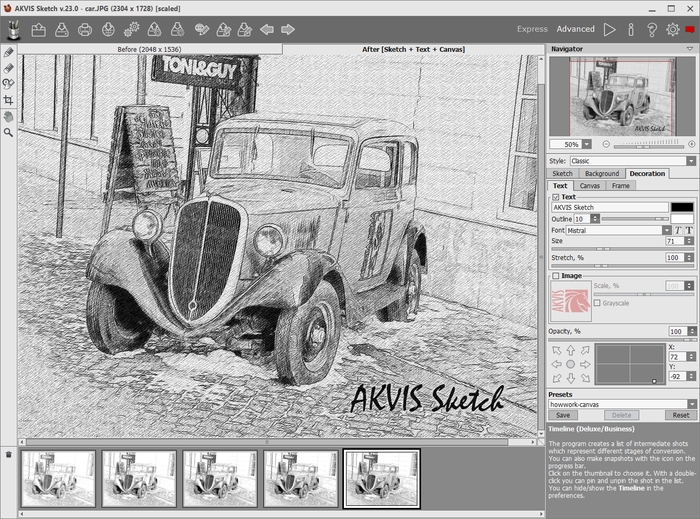
Sketch Drawing + Canvas + Text
To process an image with the settings of a certain preset, you select it from the drop-down menu and press the button ![]() .
.
If you want to get back to your final result, click on the last shot in the Timeline list.
Note: This feature is only available for the Home Deluxe and Business licenses.

Timeline Shots
You can set the number of the shots in the Preferences dialog box.
Note: The post-processing tools are only available for the Home Deluxe and Business licenses.
Hint: Use these tools at the final step! If you run the processing ![]() again, the changes made with the tools will be lost.
again, the changes made with the tools will be lost.
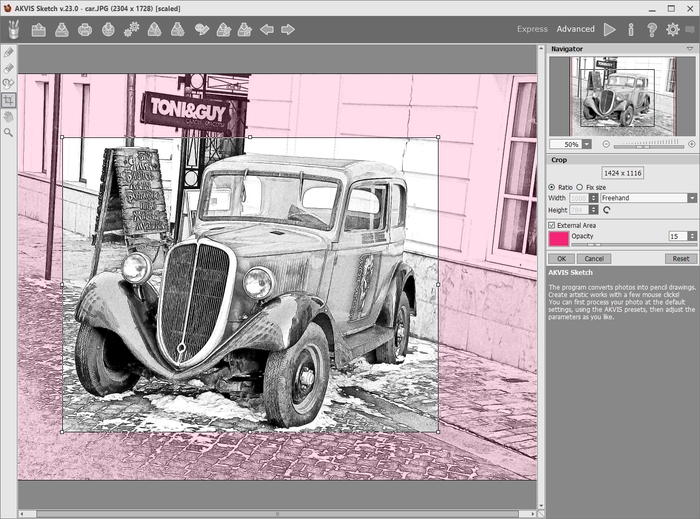
Crop Tool
In the standalone version, you can also print your result using ![]() .
.
- If you work with the standalone program:
Click on the button ![]() to open the Save s dialog box. Enter a name for the file, choose the format (TIFF, BMP, JPEG or PNG) and indicate the target folder.
to open the Save s dialog box. Enter a name for the file, choose the format (TIFF, BMP, JPEG or PNG) and indicate the target folder.
- If you work with the plugin:
Press the button ![]() to apply the result and close the plugin window. The AKVIS Sketch plugin will close and the picture will appear in the workspace of the photo editor.
to apply the result and close the plugin window. The AKVIS Sketch plugin will close and the picture will appear in the workspace of the photo editor.
Call the Save As dialog box using the command File -> Save As, enter a name for the file, choose the format and indicate the target folder.
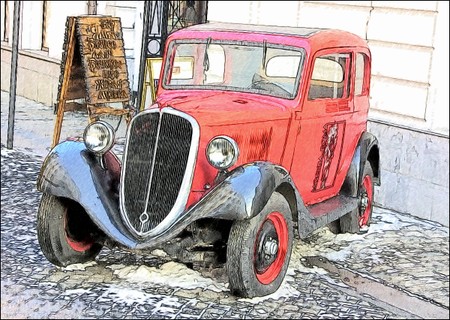
Pencil Sketch
