- If you work with the standalone edition:
The dialog box Select File to Open appears if you double-click on the empty workspace of the program or if you click on ![]() then on
then on ![]() . Use the hot-keys: Ctrl+O on Windows, ⌘+O on Mac. You can also drag the required image into the workspace of the program.
. Use the hot-keys: Ctrl+O on Windows, ⌘+O on Mac. You can also drag the required image into the workspace of the program.
The standalone program supports JPEG, RAW, PNG, BMP, and TIFF file formats.
- If you work with the plugin:
Open an image in your photo editor by calling the command File -> Open.
Call the plugin from the menu of the editor:
In AliveColors: Effects -> AKVIS -> OilPaint;
in Adobe Photoshop: Filter -> AKVIS -> OilPaint;
in Corel Paint Shop Pro: Effects -> Plugins -> AKVIS -> OilPaint;
in Corel Photo-Paint: Effects -> AKVIS -> OilPaint.
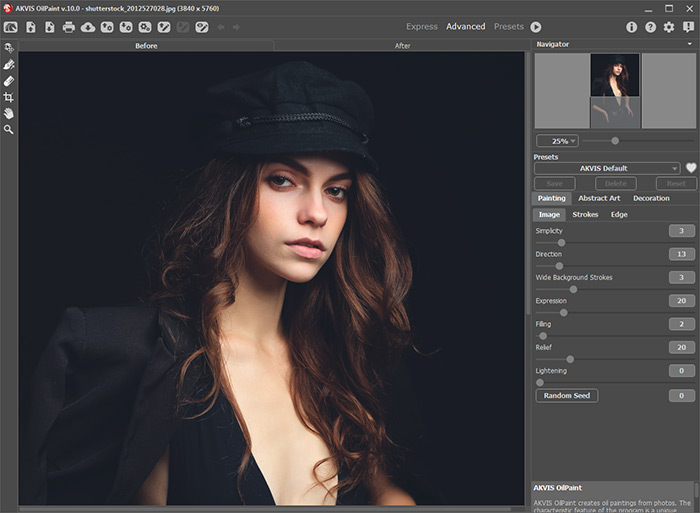
AKVIS OilPaint Window
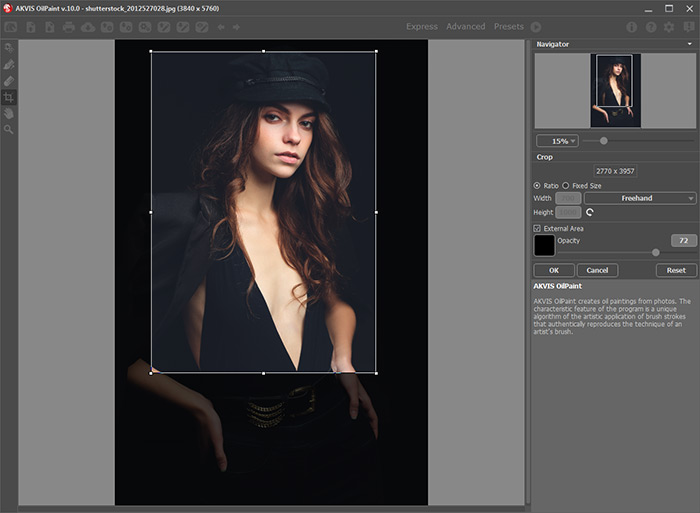
Crop Tool
Using the Abstract Art tab you can change the shape and color of objects, giving them a unique and fantastic look.
You can use one of the ready-to-use presets or set the parameters to your liking.
The result of image processing will be immediately shown in the Preview Window which is visible in the Before tab if the button ![]() in the Toolbar is pressed.
in the Toolbar is pressed.
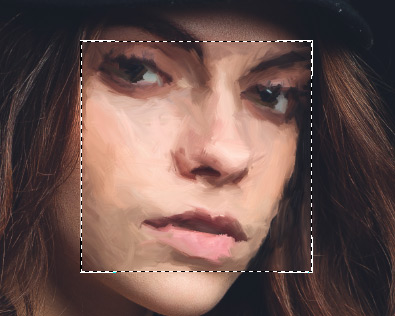
Preview Window
If you have not adjusted the values, the program will process the image with the last used settings.
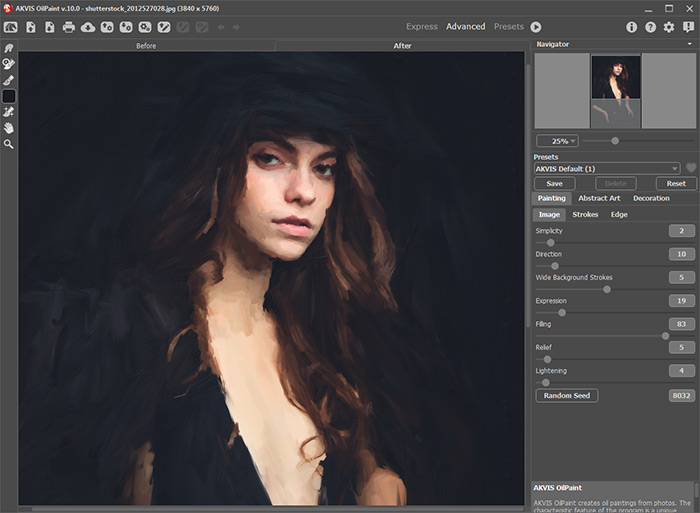
Oil Painting Effect
 |
 |
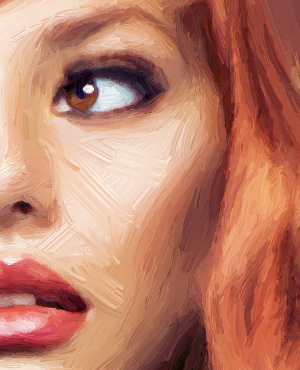
| Automatic Brush Strokes | Reoriented Brush Strokes |
Hint: The order of the application of Canvas/Frame/Text depends on the position of the tabs. Drag the tabs to change the order.
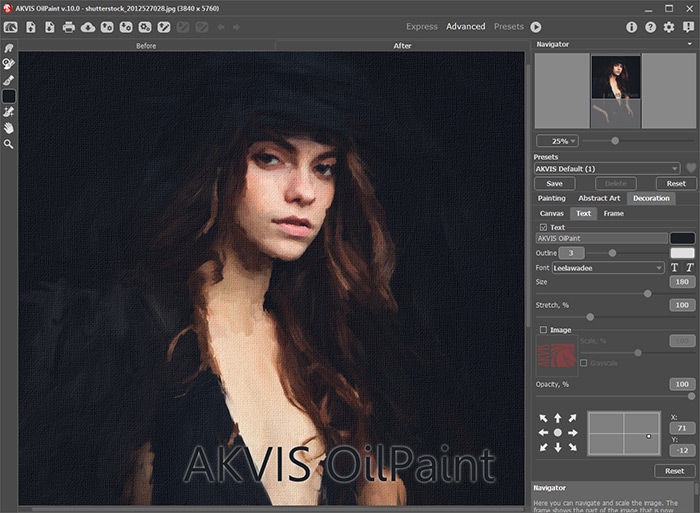
Oil Painting on Canvas with Signature
Attention! Use these tools at the final step. If you run the processing  again, the changes made with the tools will be lost!
In the standalone version you can also print your oil painting with ![]() .
.
- If you work with the standalone edition:
Click on ![]() then on
then on ![]() to open the Save As dialog box. You can use the hot-keys: Ctrl+S on Windows, ⌘+S on Mac. Enter a name for the file, choose the format (TIFF, BMP, JPEG or PNG) and indicate the target folder.
to open the Save As dialog box. You can use the hot-keys: Ctrl+S on Windows, ⌘+S on Mac. Enter a name for the file, choose the format (TIFF, BMP, JPEG or PNG) and indicate the target folder.
- If you work with the plugin:
Press the button ![]() to apply the result and close the plugin window. The AKVIS OilPaint plugin will close and the picture will appear in the workspace of the photo editor.
to apply the result and close the plugin window. The AKVIS OilPaint plugin will close and the picture will appear in the workspace of the photo editor.
Call the Save As dialog box using the command File -> Save As, enter a name for the file, choose the format and indicate the target folder.
